NDT OF BIG DIAMETER PIPES
ULTRAPIPE
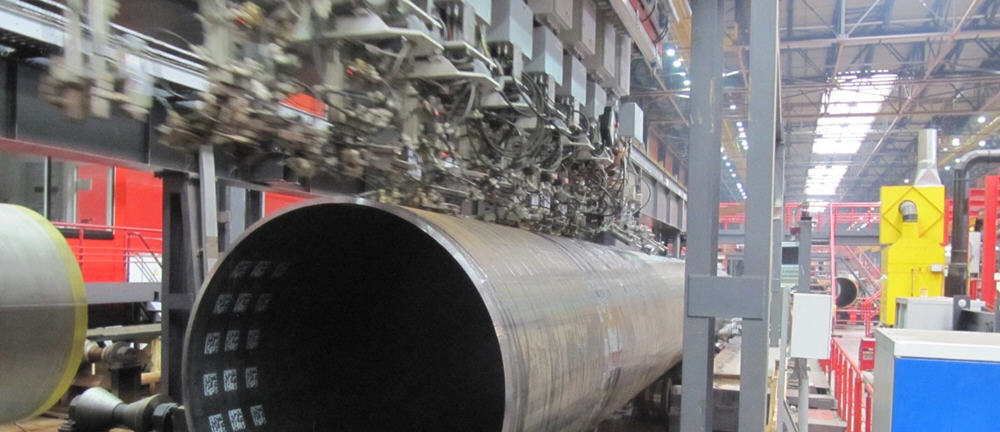
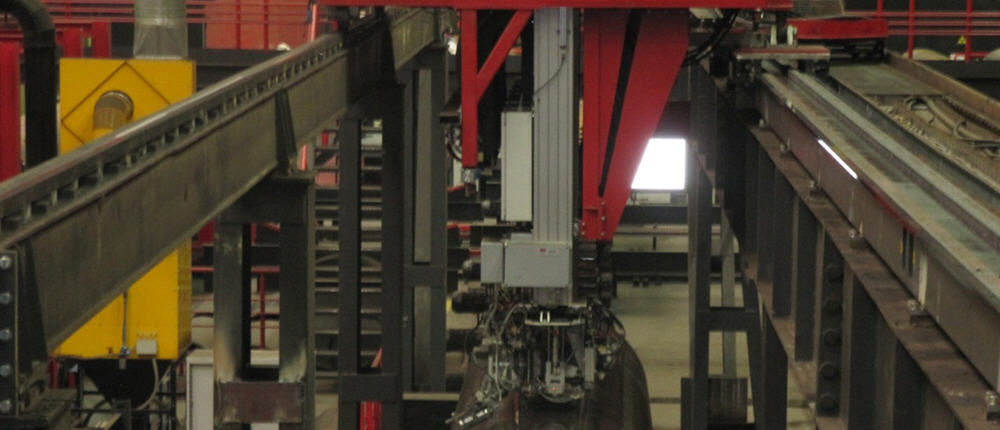
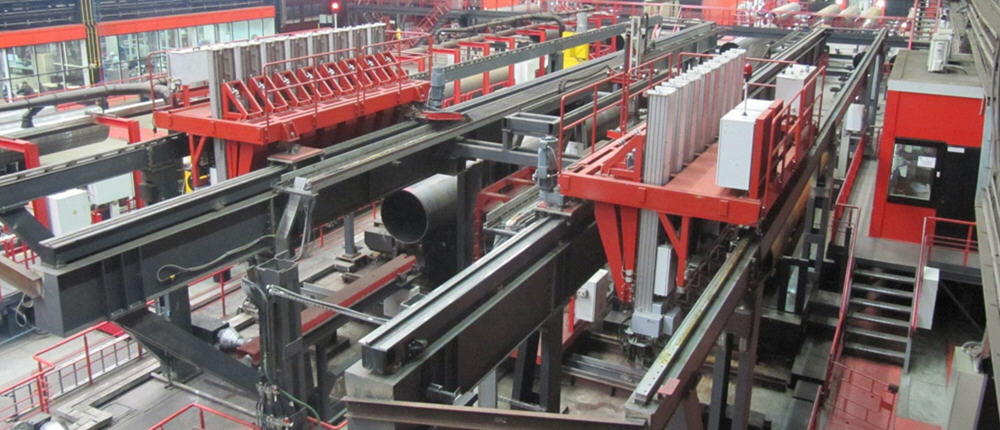
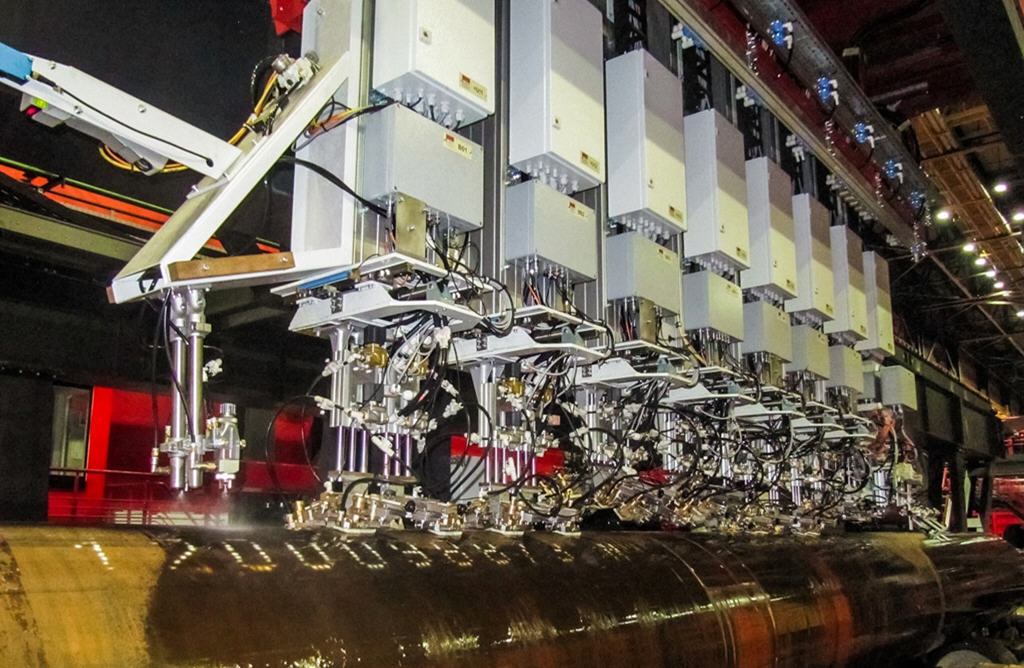
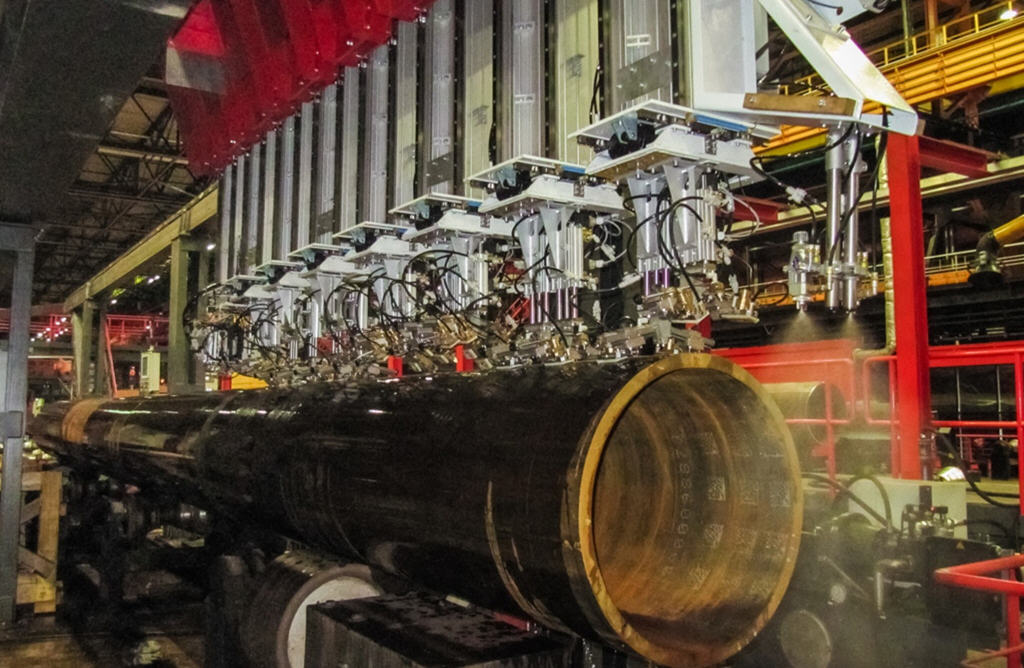
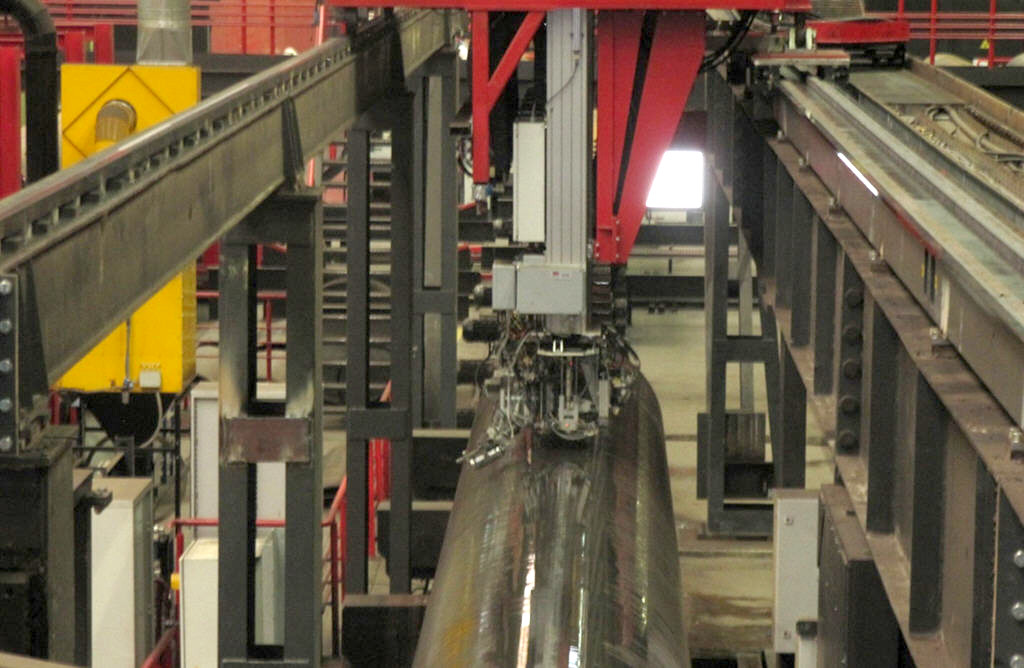
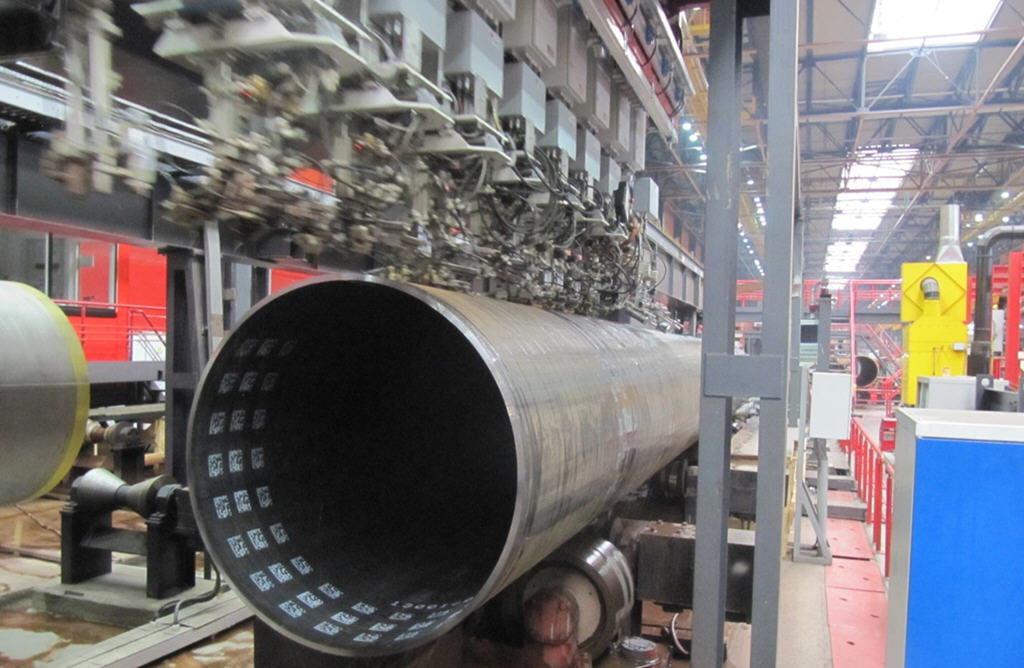
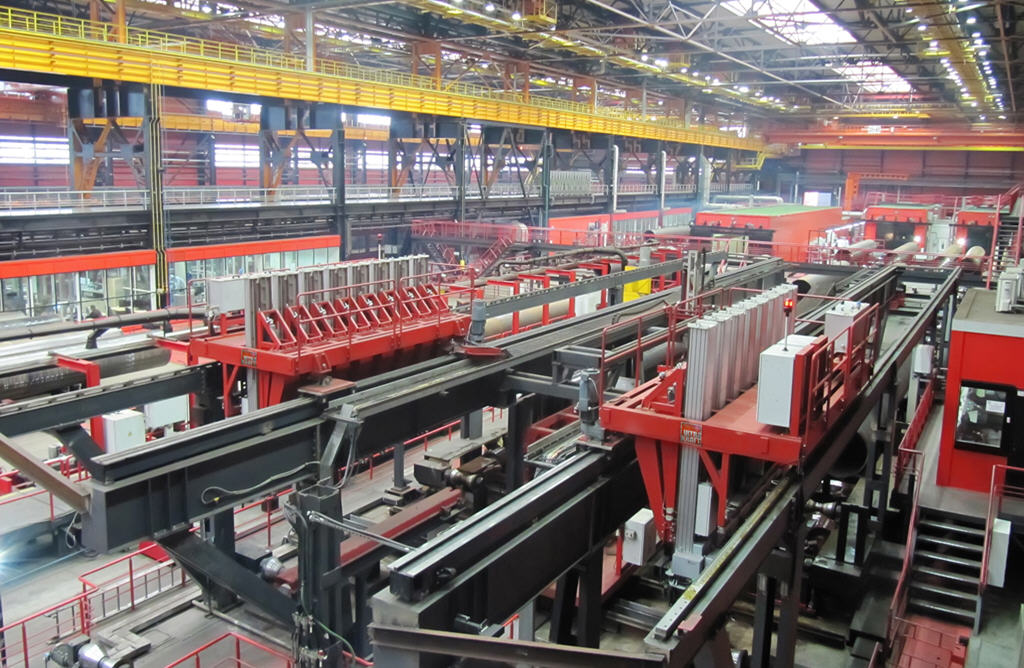
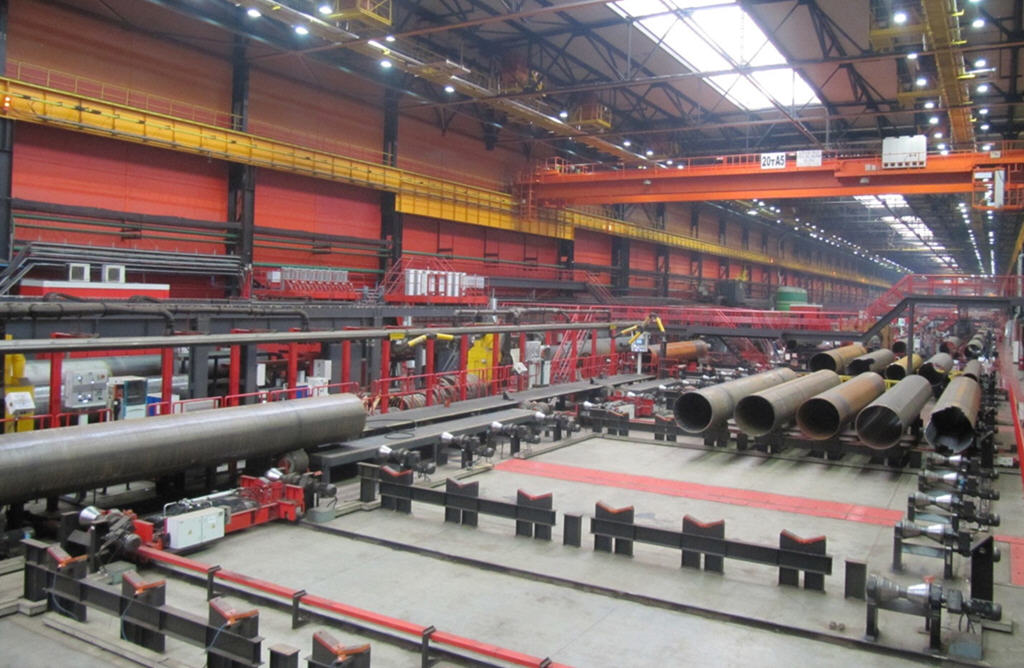
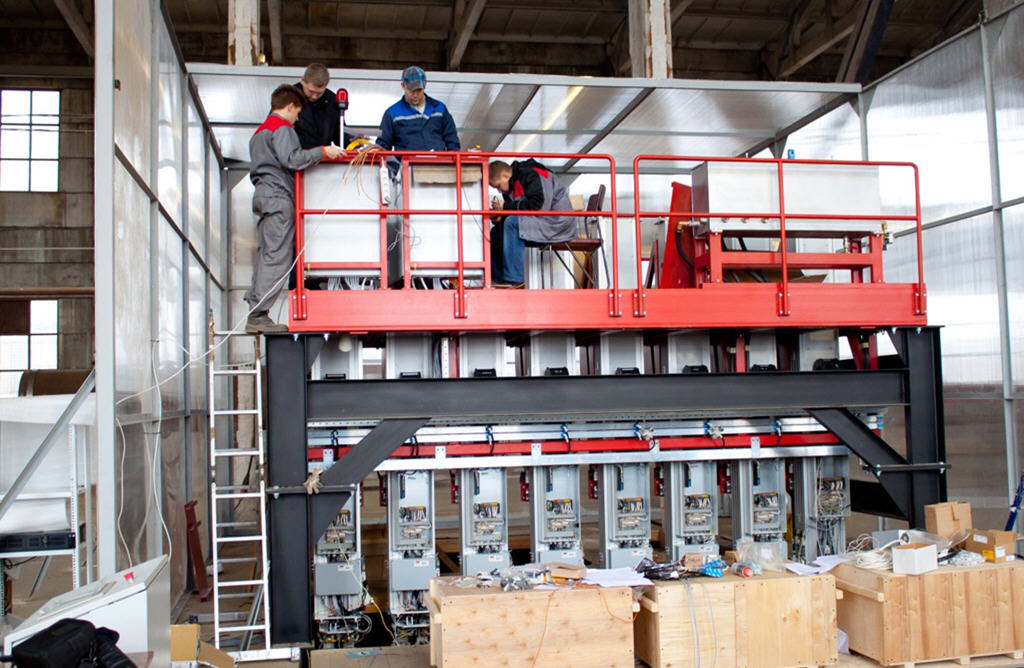
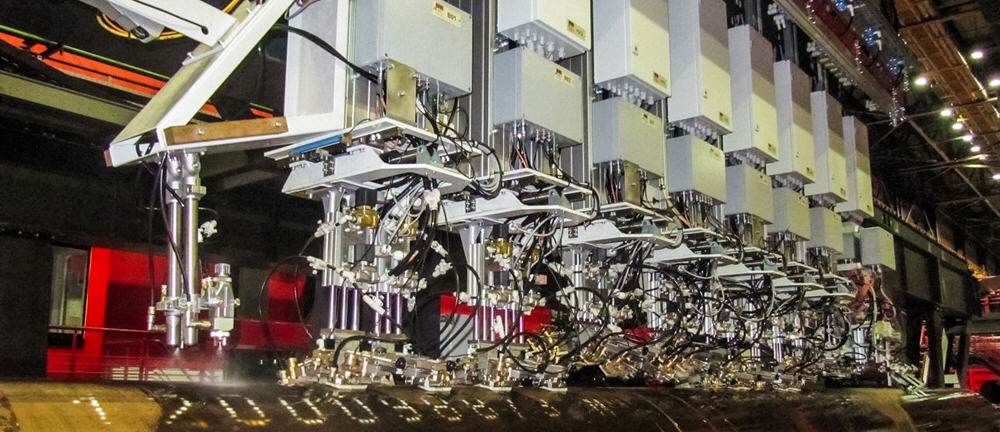
UTE “ULTRAPIPE” is intended for automatic ultrasonic testing (UST) of weld, heat affected zone and pipe end areas of the big diameter pipes.
Источник: http://service-joomla.ru/plagini/item/19-allvideos.html
GALLERY
MAIN ADVANTAGES OF EQUIPMENT
- On-bead, TOFD Realization of additional sonic test circuits regulated with the special requirements of the Pipe Buyer, namely the testing of transverse flaws in the heat affected zone; On-bead, TOFD;
- Testing of the pipe end areas for the lamination, radial (longitudinal) flaws on the width of the scanning area from 50 mm to 300 mm;
- Automatic calibration of the Equipment in line, with automatic loading and unloading of calibration block;
- The Equipment provides the testing by using of conventional piezoelectric probes as well as by using of Phased arrays.
MAIN CHARACTERISTICS OF THE EQUIPMENT
|
Large-diameter pipes welded with submerged metal arc welding (SAW) | |
|---|---|
| Diametr | 503 – 1420 mm |
|
|
up to18500 mm |
| Wall thickness |
6 – 50 mm (>50 optionally)) |
|
Efficiency |
up to28 pipe/hour |
QUALITY ASSESSMENT
Quality assessment is carried out according to the following standards API 5L, GOSTR 52079, GOST14782-86; ISO 3183, DNV-OS-F101, ShellTechnicalSpecification, SpecificationINTECSEA, special requirements of TRANSNEFT, GAZPROM (including the specifications of the projects Shtokman, NordStream, SouthStream).
TRACKING SYSTEM OF WELD POSITION:
Realization by using of non-contact laser scanner.
TESTING PROCEDURES
The testing is realized in three steps:
- testing of the first pipe end;
- testing of the weld and weld-affected zone;
- testing of the second pipe end.
Depending on requirements, the steps of the testing of the pipe end areas may be not realized.
EQUIPMENT CALIBRATION
With the Equipment you can automatically carry out the regular calibration according to the calibration block.
Two types of calibration are available:
- according to the small-size calibration block (s. the photo);
- according to the full-size of the pipe with artificial flaws in the processing line.
PHASE ARRAYS
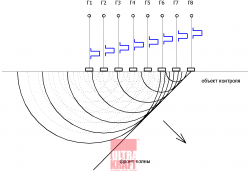
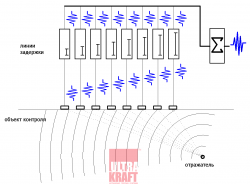
The phased array provides the scanning of the weld section at different angles in the real-time.
It allows you to register disadvantageous oriented dangerous flaws in the weld.
Operation principle of the phased array.
 |
 |
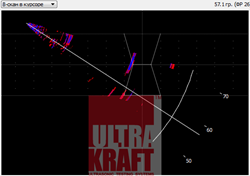 |
B-scan of the weld section with imperfection in root. Scanning with the Phased array |
TOFD-SCHEME OF THE WELD SCANNING
TOFD-sheme provides detection of the arbitrary orientation flaws in the middle part of the weld, including very thin vertical flaws. TOFD can complement (or replace) the TANDEM-sheme.
TOFD provides detection of the real sizes of the flaws.
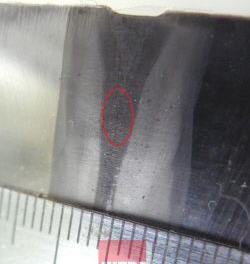
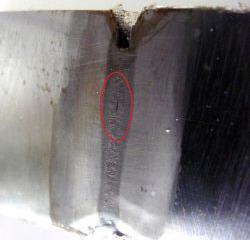
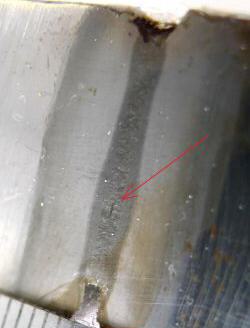
"Incomplete penetration" is a type of flaw detected with "ULTRAPIPE" in the weld with thickness of 22 mm.


